8 Things to Do Before Working With a Web Designer
- December 10, 2020
- Updated: December 17, 2024
- Comment
Share this Post

Chances are you’re reading this as you prepare to have your website built or redesigned by a web designer or developer. This post will help you make the most out of your time with your designer by giving you some action steps to take before your project even begins. Let’s call it homework. 8 things to do before you begin working with your Wordpress designer or developer. Instead of getting stressed about these tasks mid-project, having them done beforehand will allow you to focus on the actual design and functionality of your site.
1. MAP IT OUT.
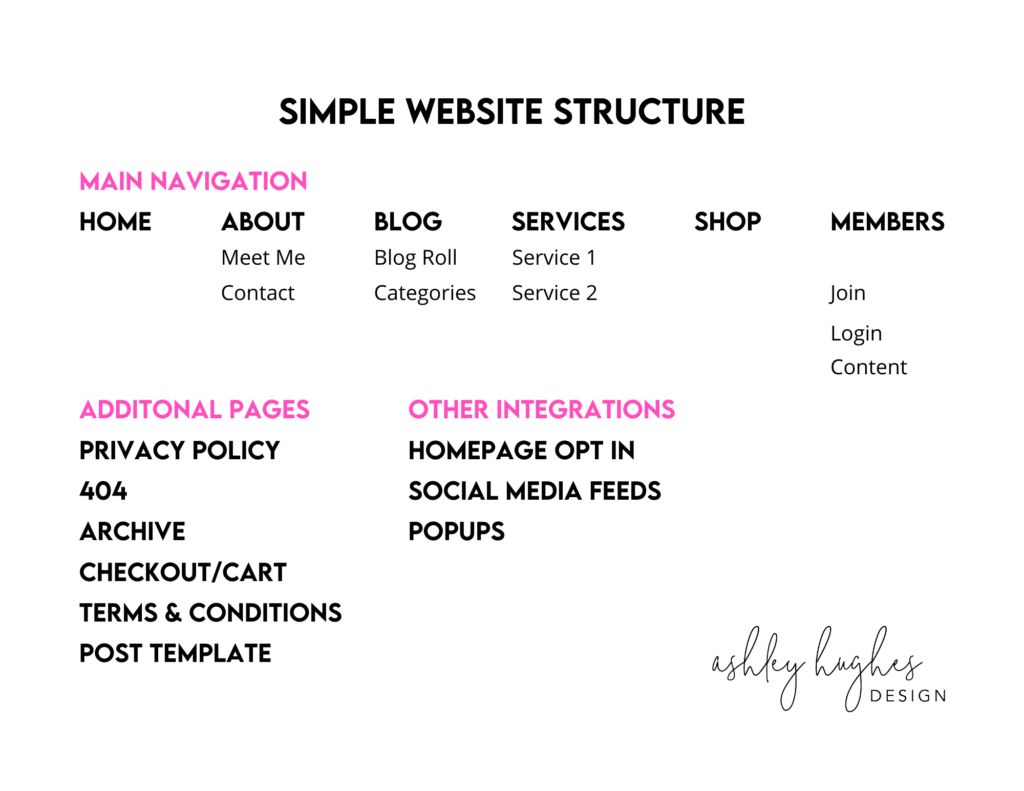
Get a big piece of paper, use sticky notes, or create a digital map. The point is that you need to map out your entire site and KNOW exactly what your designer or developer will be working with. Examples of what to include are: all main pages, subpages, hidden pages, links to external platforms (like social media or a shop), opt ins, the flow a user would take to sign into a membership account, random pages (privacy policy), etc.
The image below is just an example of how I map out sites. I’m a very visual person, so I like to see it laid out like this, but some people do just fine with a bulleted list. Bottom line… think through every page you’ll need and write it down. Your designer will likely have a list of standard pages, so don’t hesitate to reach out if you aren’t sure what those would be.
If you need help with the planning, most designers can definitely help you on this. If you have some extremely advanced funnels then I’d suggest hiring a strategic content coach to help you work through this process.
Helpful Tools for Visual Maps: GlooMaps, Canva, Keynote/PowerPoint are easy to drag around boxes and text
2. GET ORGANIZED.
If you don’t already, create a Dropbox or Google Drive folder with ALL THE THINGS. Create subfolders for your different pages. Create documents that contain your page copy (trust me, you’ll want to have a backup of posts and pages, so keep them in some form other than just on your site). Add all of your images, any downloadable files, etc to the files so that when your project starts your designer or developer doesn’t have to hunt or email you all the time for content.
I use Asana with all of my clients, so we stay extremely organized, but I also have Dropbox folders that are shared between us so that we can have quick access to all the files needed. Beats sending things back and forth between email.
File Naming Tip: BE SPECIFIC. Instead of naming an image ‘Image004.png’, try ‘Homepage Opt In Preview.png’
3. GATHER YOUR BRANDING FILES.
A lot of my clients have me design their branding prior to the website build, but if you have yours done by another designer then go ahead and make sure that ALL of those files are organized and in one place. This means logo files, patterns, your brand board, etc. Anything to do with your branding that would either go on your website or help your designer understand your branding goals. Might as well pop that into the file you created from step 2. If you aren’t sure which types of files your designer will need, then reach out. They’ll be able to tell you exactly what formats they’ll need.
4. GET PROFESSIONAL PHOTOS.
I cannot stress this enough. Photos can make or break a website. If you have dated, dark, ugly photos, your traffic will suffer and your designer will likely lose sleep over how to work them into the design. If getting professional photos isn’t in your budget, then have a spouse or friend take one of you. Get near a window for natural light, or go outside. Have at least one great headshot of yourself. People LOVE to see who they’re working with and will trust you more if they know you’re a real person. Typically the “About” page is one of the most frequently visited pages on a site.
In terms of photos for other areas of your site, if you don’t have great photography skills, then use stock photos! I use them all the time with clients. I source them mainly from Adobe Stock, but there are plenty of other platforms where you can purchase or download for free. Crisp clean photos are essential to every great site, and your WordPress designer will thank you.
5. CLEAN UP YOUR CONTENT.
Get in there and clean house! Go through your blog posts, products, etc. and make sure everything is “on brand” and up to date. If you started blogging in 2010, do some of those old posts need to be updated? Or maybe deleted if they were [GASP] a Rafflecopter Giveaway post from 2012!? Remember those? If your site is niched down to kindergarten teachers then make sure your content reflects that. It’s totally okay to have different categories, but if you are still getting traffic or inquiries about a service or post that was you-10-years-ago, then really consider updating or unpublishing.
I had a teaching blog back in the day and I had a really great post that showcased all sorts of different classrooms. I got a lot of traffic from it, but I also got a TON of people emailing me asking to add their rooms to the post. It was driving me nuts. Although the traffic was nice, I was no longer in that niche and it didn’t make sense to hang onto that post since the traffic I was getting was (a) not my ideal client, and (b) giving me anxiety with the number of emails rolling in. I redirected that old post to my homepage.
Helpful Tip: Don’t stress about this step. It takes time to review and update content. Take your time, but at least get it started. Don’t think it ALL has to be updated.
6. UPDATE FEATURED IMAGES
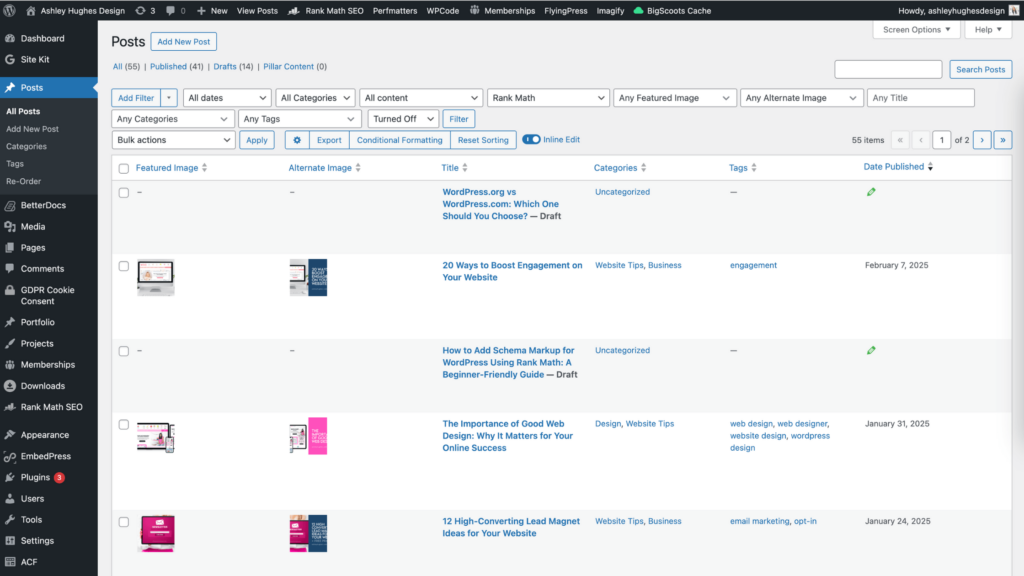
Probably the main task that most of my clients wind up needing (and wanting) to do is updating featured images. Especially if your site has been around for a while, it’s great to go back every so often and give them a fresh update. If your site has featured images that are all different sizes, then this step is pretty necessary.
You need to make 2 main decisions when it comes to featured images:
1. What shape/size? 1:1 ratio (square)? Pinterest ratio?
2. What style? Stock photography or your own photos? Styled graphics (photo + text overlay)?
Whatever you decide, stick with it. That way your post feed (blog roll) is consistent. I create all of mine in Canva and typically I just create one. Honestly, if I had the time, I’d create multiple (with the new Pinterest updates), and even different graphics for social media sharing, etc., but again… time. I don’t get a ton of blog traffic anyway, so it’s not a huge priority. Prior to Canva, I did it with Illustrator/Photoshop, but I’ve found that I’m faster with Canva since I can choose photos right from the platform.
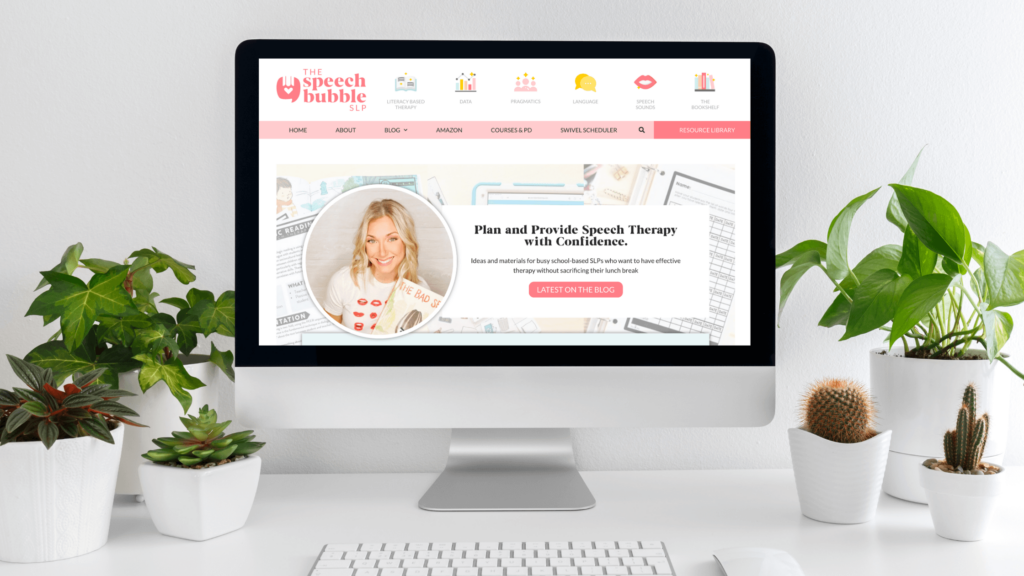
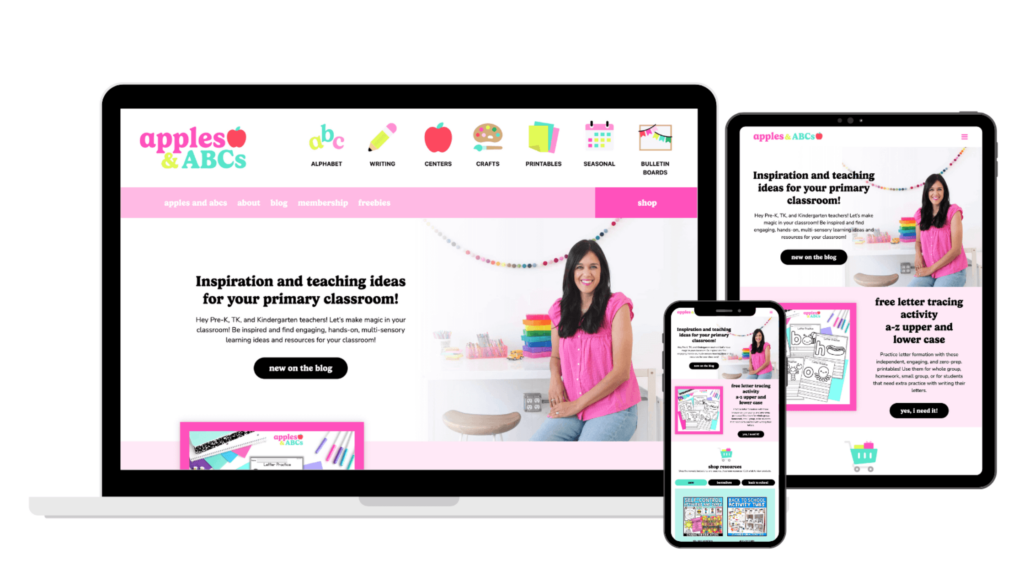
Create a template in whatever program you like using, then stick with it or just make subtle changes. You want people recognize that the image is your brand. Here are what mine look like. I swap out the photo, change the title, subtitle, category, then save it out. It takes me all of five minutes.
7. DELETE UNUSED IMAGES, FILES, AND PLUGINS
Going along the same lines as cleaning up your content… clean up your platform. Go through images, files, and plugins and delete any unused ones. The lighter your site, the better. You want to try to get away with as few plugins as possible. Your WordPress designer or developer will obviously be adding some plugins and optimizing your site for performance and speed, but if you know you’ve had a few deactivated plugins for months, trash them (inactive plugins also pose a security risk). This is a great plugin that can help you identify unused files on Wordpress: Media Cleaner
8. RESEARCH
You’ve very likely already started researching, but go ahead and start if you haven’t. Researching other competitors in your niche, creative web designs, etc. is so helpful. It helps you communicate specific styles and features to your designer. You may LOVE a certain feature or style of website and hate another. That’s incredibly useful information for me when I begin working with clients. I have my clients create a private Pinterest board and add me to it. They pin sites or page sections that reflect the general direction they’d like to go. When I begin the design process I’m able to use those ideas they’ve pinned and compare them to what I have in mind for their layout and general styling.

FREE Checklist
I’ve got a free checklist to help you out if you’re a “to do list” person. All the same content from above, just in a handy printable found in the download library!
Enjoy free stuff?
get Access to an Ever-Growing Library of Free Downloads
Everyone love s free stuff, right? I’ve got a library of some great downloads and resources for you! From planners, checklists, and graphics, you’ll find something to love.
This list has hopefully given you a little direction in terms of where to start before you begin working with your WordPress designer. I will mention that the clients who complete the majority of these prior to our project starting always seem to enjoy the process a little more. It’s like having a clean house when you’ve got a party happening that evening. It feels good to have it done prior to the party… instead of running around with your hair on fire trying to scrub toilets as people walk in the door. Happy prepping!
Working at home with kids? 8 Tips for Working at Home With Young Children

Ashley Hughes
I design beautiful branding and graphics, build custom WordPress websites, and handle all the technical stuff so that you can focus on what’s important to your creative business… and stop doing all the things.





Leave a Reply