How to Create a Custom Desktop Background
- June 20, 2017
- Updated: February 20, 2022
- Comment
Share this Post
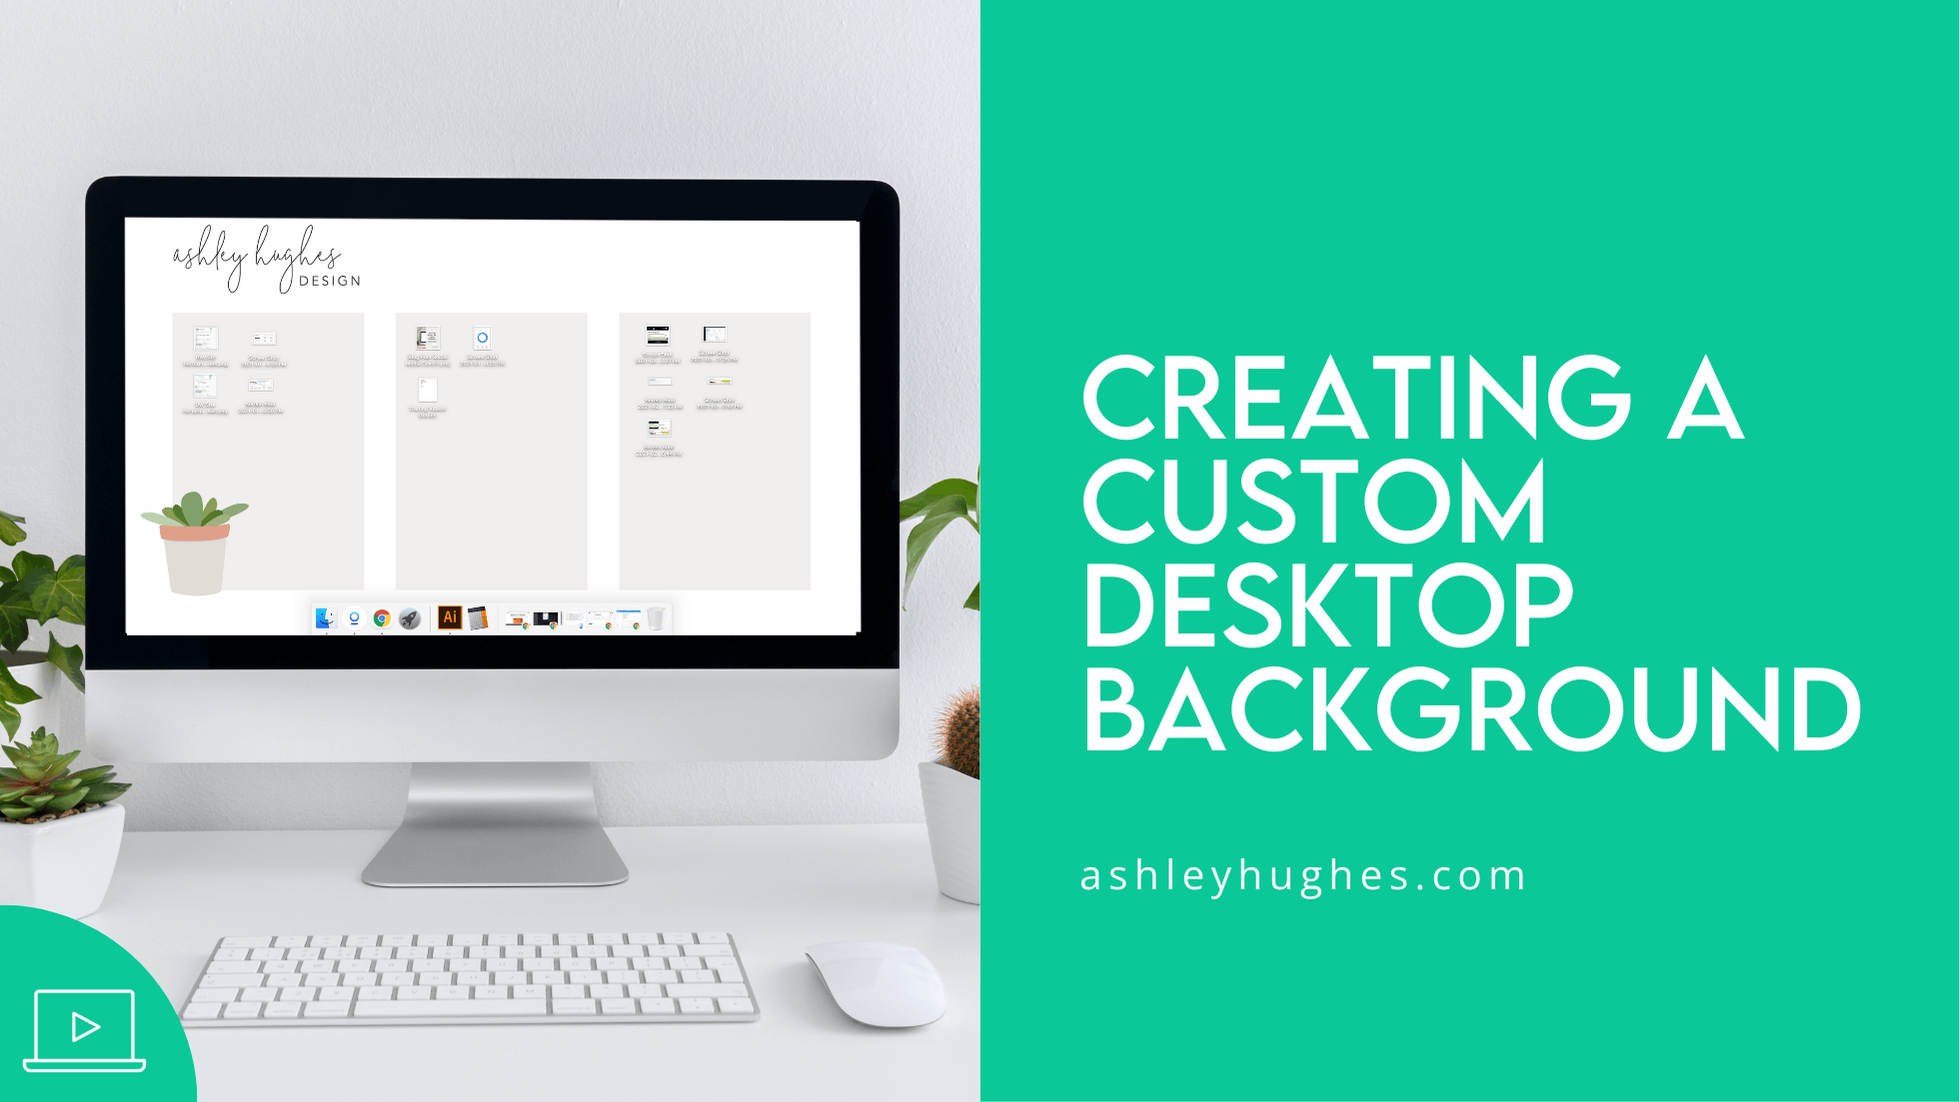
A custom desktop background is helpful if you find yourself constantly battling a cluttered screen. If you’re like me, then your computer desktop has a tendency to get out of control sometimes. I have been using some sort of organizational background for years, but finally decided to do a little tutorial on it! It is really easy to do!
What You Need:
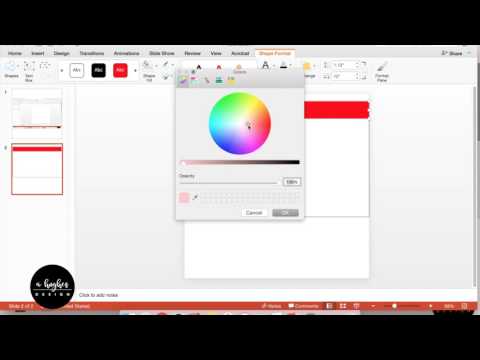
This is simple. You need like 10 minutes of your time and a program that will allow you to create a full page graphic. There are several you could do this on, but I recorded one for PowerPoint below.
You will also need to determine the size of your screen. Here’s how:
- Mac – Click on the apple icon in the top left corner. Select “About This Mac.” A little box will pop up. Select the “Displays” tab and it will give you the details on your screen.
- PC – I should be under “Advanced Display Settings.” Again, I own Mac’s, so it’s been a while since I’ve worked on a PC. If you know for sure, send me a message and I’ll update this!
- You could literally measure it with a ruler/measuring tape.
- OR you can use this handy little website to determine the size.
You can make your design the exact same size as those specifications OR you can use it as a ratio if you don’t want such a large file. For example, I have a Macbook Pro (and an iMac, but I’m working on the couch currently) and it’s 16-inch (3072 x 1920). I don’t necessarily need to make it that large in pixels (because that’s a rather large file), but for sure that same ratio. I made mine 2000 x 1250 pixels and it looks fine.
(Canva tutorial coming soon!)
Video Tutorial: Using PowerPoint to Create a Custom Desktop Background
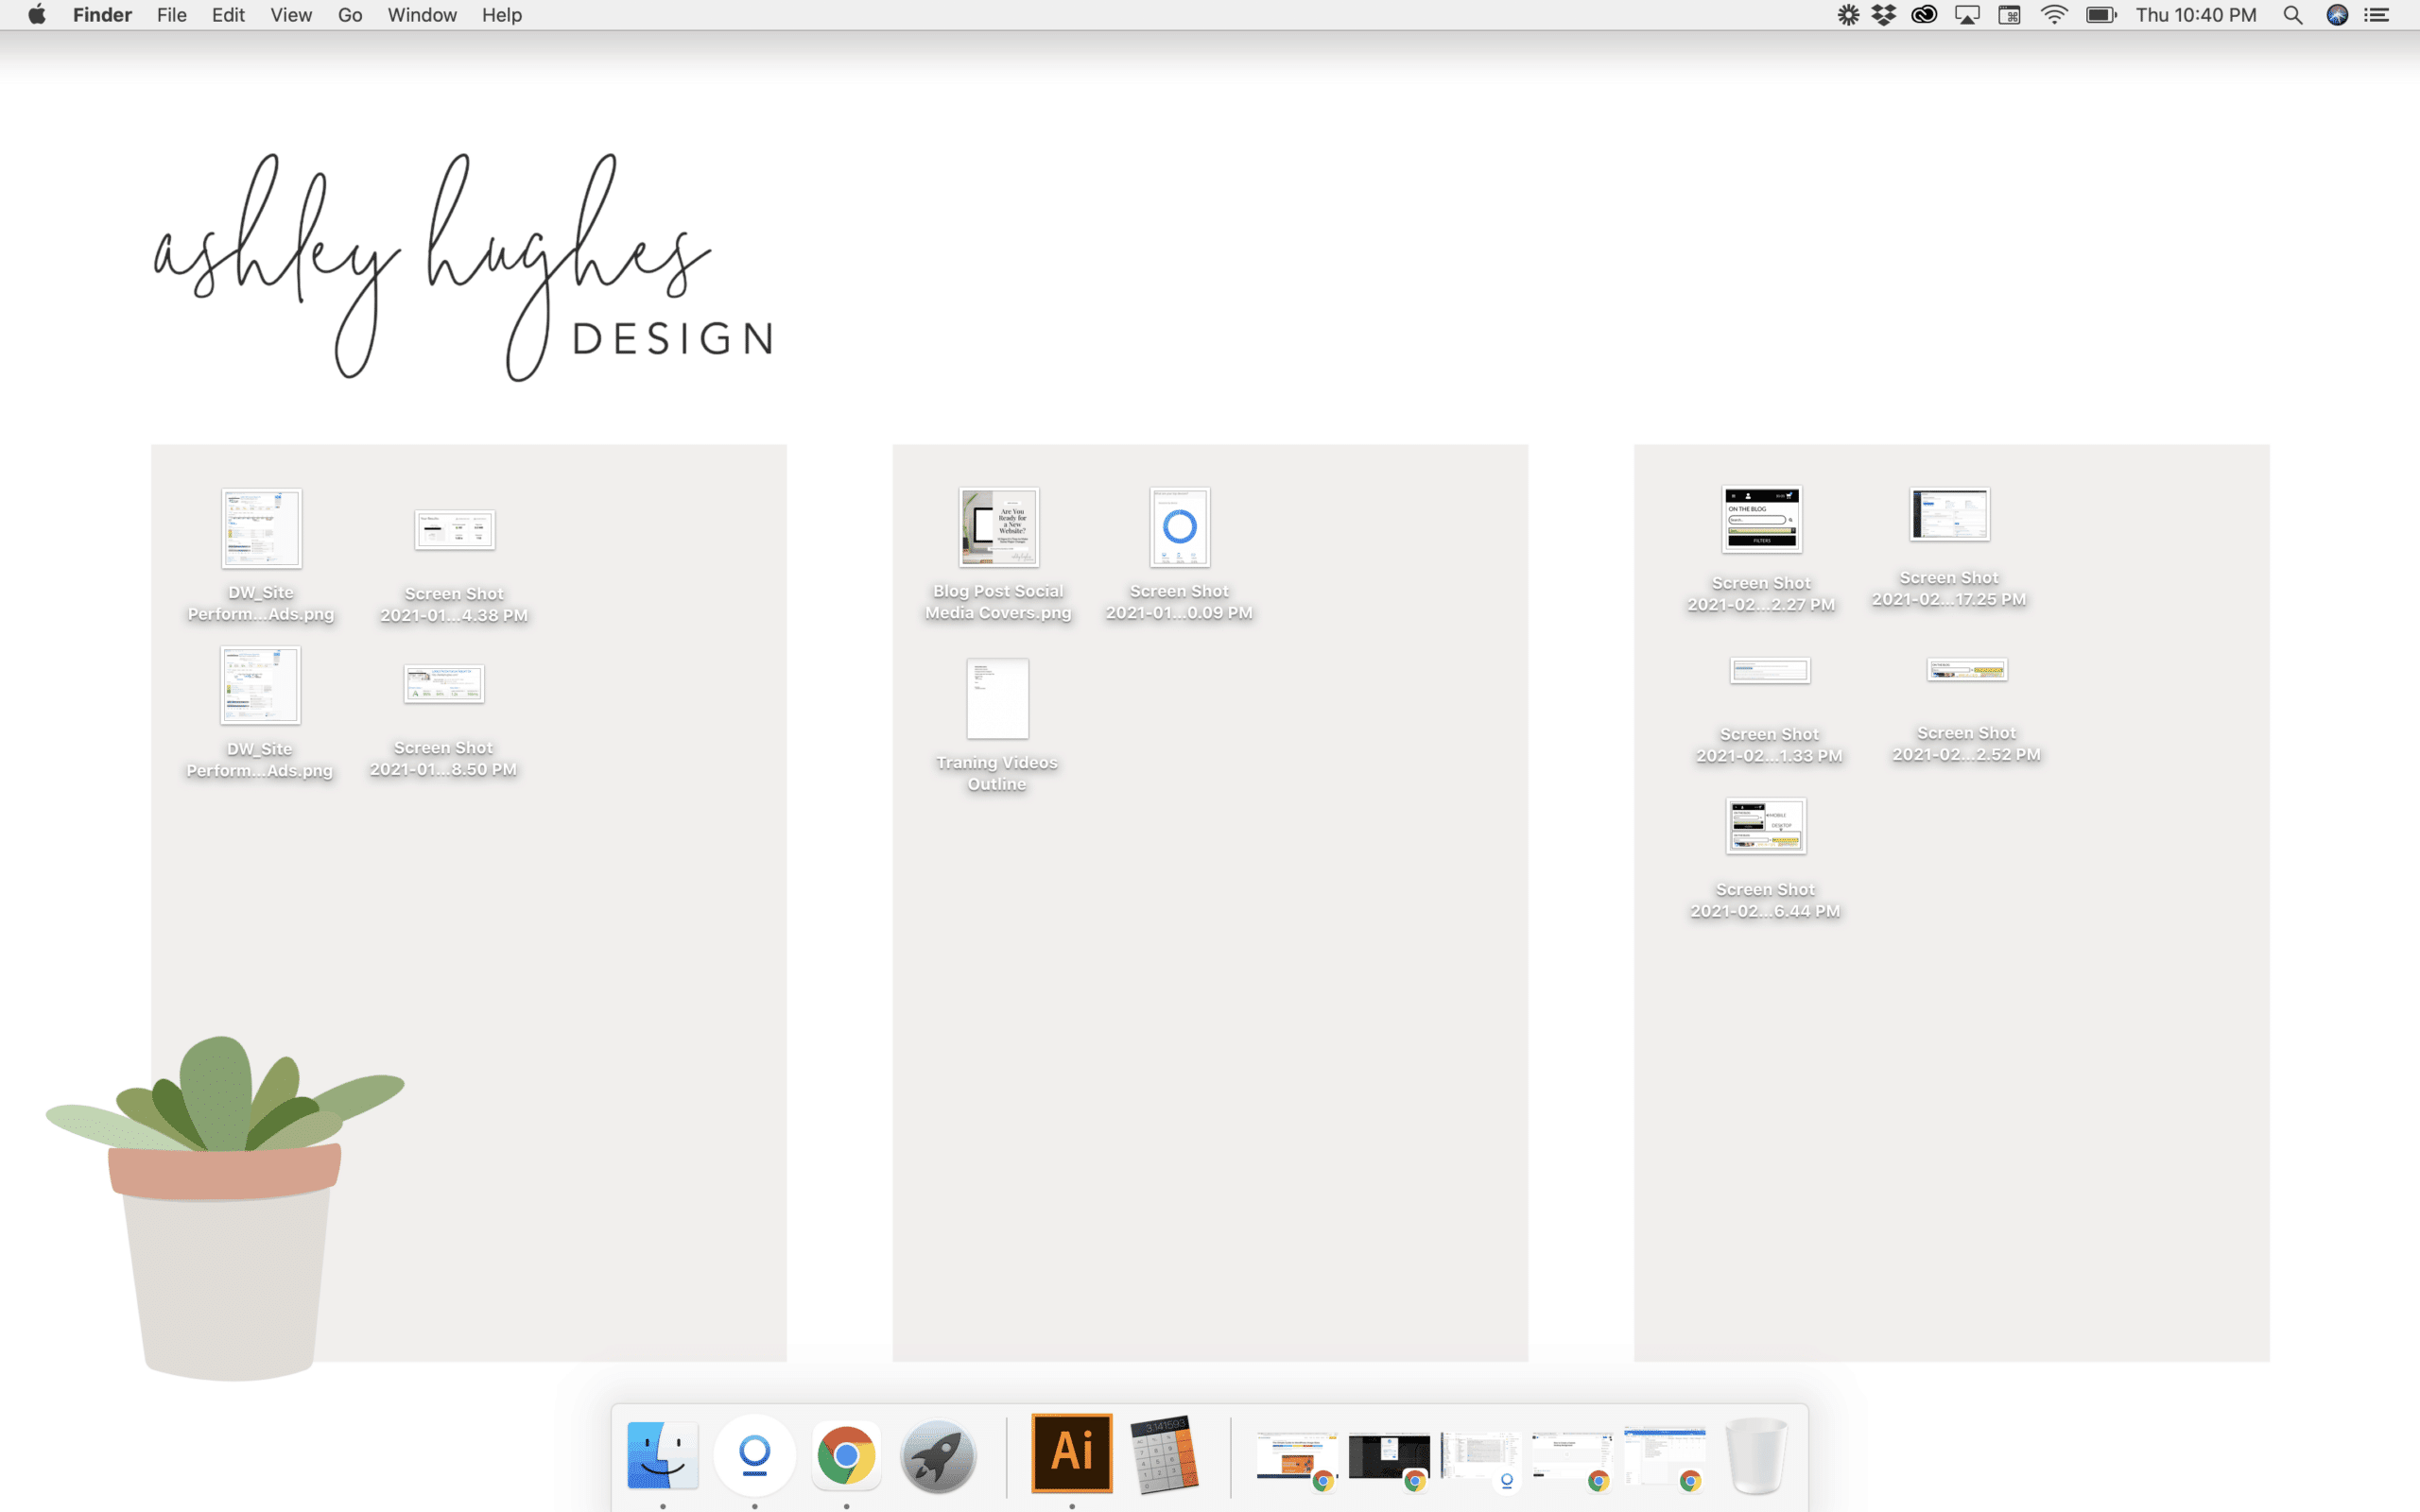
I hope this helps you get (and stay) a little more organized! Here’s my current one! Y’all know me. Super simple, clean, and light. I can’t handle the visual clutter.
MOVE the little arrow bar to see it blank and then how I use it!

In the mood to learn? Check out more tutorials.

Ashley Hughes
I design beautiful branding and graphics, build custom WordPress websites, and handle all the technical stuff so that you can focus on what’s important to your creative business… and stop doing all the things.








Leave a Reply