How to Setup Google Analytics 4 for Your WordPress Website
- December 15, 2022
- Updated: September 20, 2024
- Comment
Share this Post

Google Analytics is a powerful tool that gives you detailed data about your visitors. In this post, I’ll show you how to quickly setup Google Analytics 4, and how to connect your new property to your WordPress site. If you use another website platform, the steps will be similar for setting things up, but adding your Google Tag might look a bit different.
Table of Contents
What is Google Analytics?
Google Analytics is basically a platform that allows you to collect information about users, behavior, device data, and more. “Google Analytics 4” is the newest version of GA that Google has released. Per Google, “Google Analytics is a platform that collects data from your website and apps to create reports that provide insights into your business.” At a very general level, Google Analytics helps you do the following:
- Monitor traffic (See how much traffic your website is getting, where that traffic is coming from, what devices are used, etc.)
- Analyze important metrics (Look at data related to marketing efforts, demographics, conversions, goal-related metrics, etc.)
- Understand user behavior (Find out what users are doing on your site, track conversions, bounce rates, etc.)
What’s the Deal with Google Analytics 4? Can I Just Use the Old Version?
Google is switching from to Google Analytics 4 on July 1, 2023, which means the older version (Universal Analytics) will no longer be available. Google Analytics 4, in their own words, is “a more intelligent Analytics experience that delivers the essential customer insights you need to be ready for whatever comes next.”
Bottom line? You need to go set up your Google Analytics 4 property as soon as you can so that when they finally make the switch, you’ll have a decent amount of data already rolling in…. because your data doesn’t really roll over from one version to the next.
Do I Really Need to Setup Google Analytics?
Google Analytics is quite different from Search Console, but it’s still important to have. Google Search Console is something that you need to have if you want to be found on Google, but you can technically get away without an analytics account. For example, if you just need a to have a website for informational purposes and don’t intend on marketing or viewing any sort of traffic data, then it wouldn’t be totally necessary to have. It would still be smart to have though if you pivot later and want to see changes.
For all other businesses and sites who DO need to view data relating to users, traffic, and behavior, you absolutely need a Google Analytics account. Basically, Google Analytics allows you to view data on your users/customers and measure your market efforts. Per Google, the purpose is to “Get insight into every step of your customer’s journey on your website, then use analytics to elevate your impact.”
How to Setup Google Analytics 4
If you’re already a Google Analytics user, you may have received an email from Google recently that mentioned the upcoming switch. It should have prompted you to log in and set up your new property. If you received that email, just follow the link and directions. If not, keep reading.
It’s fairly easy to setup Google Analytics 4. The technical part of it comes into play when you start setting goals, creating events, and getting into all the really detailed tracking. We’re keeping it basic for this one. You’ll just need a Google account and a website, obviously. Follow these easy steps to get started:
1. Create Your Google Analytics Account (If you already have one, skip to the next step)
- Go to the Google Marketing Platform and click the get started button
- Sign in with a Google account
- Click “Start Measuring”
- Account Setup – Add an account name (this is typically your business or website name)
- Property Setup – Add a property (again, probably want to use your business or website name… unless you have multiple sites that you want to monitor under the same account). No need to toggle on the Universal Analytics option since this will phase out in 2023 anyway.
- About Your Business – Add business details
- Click “Create” and accept the terms
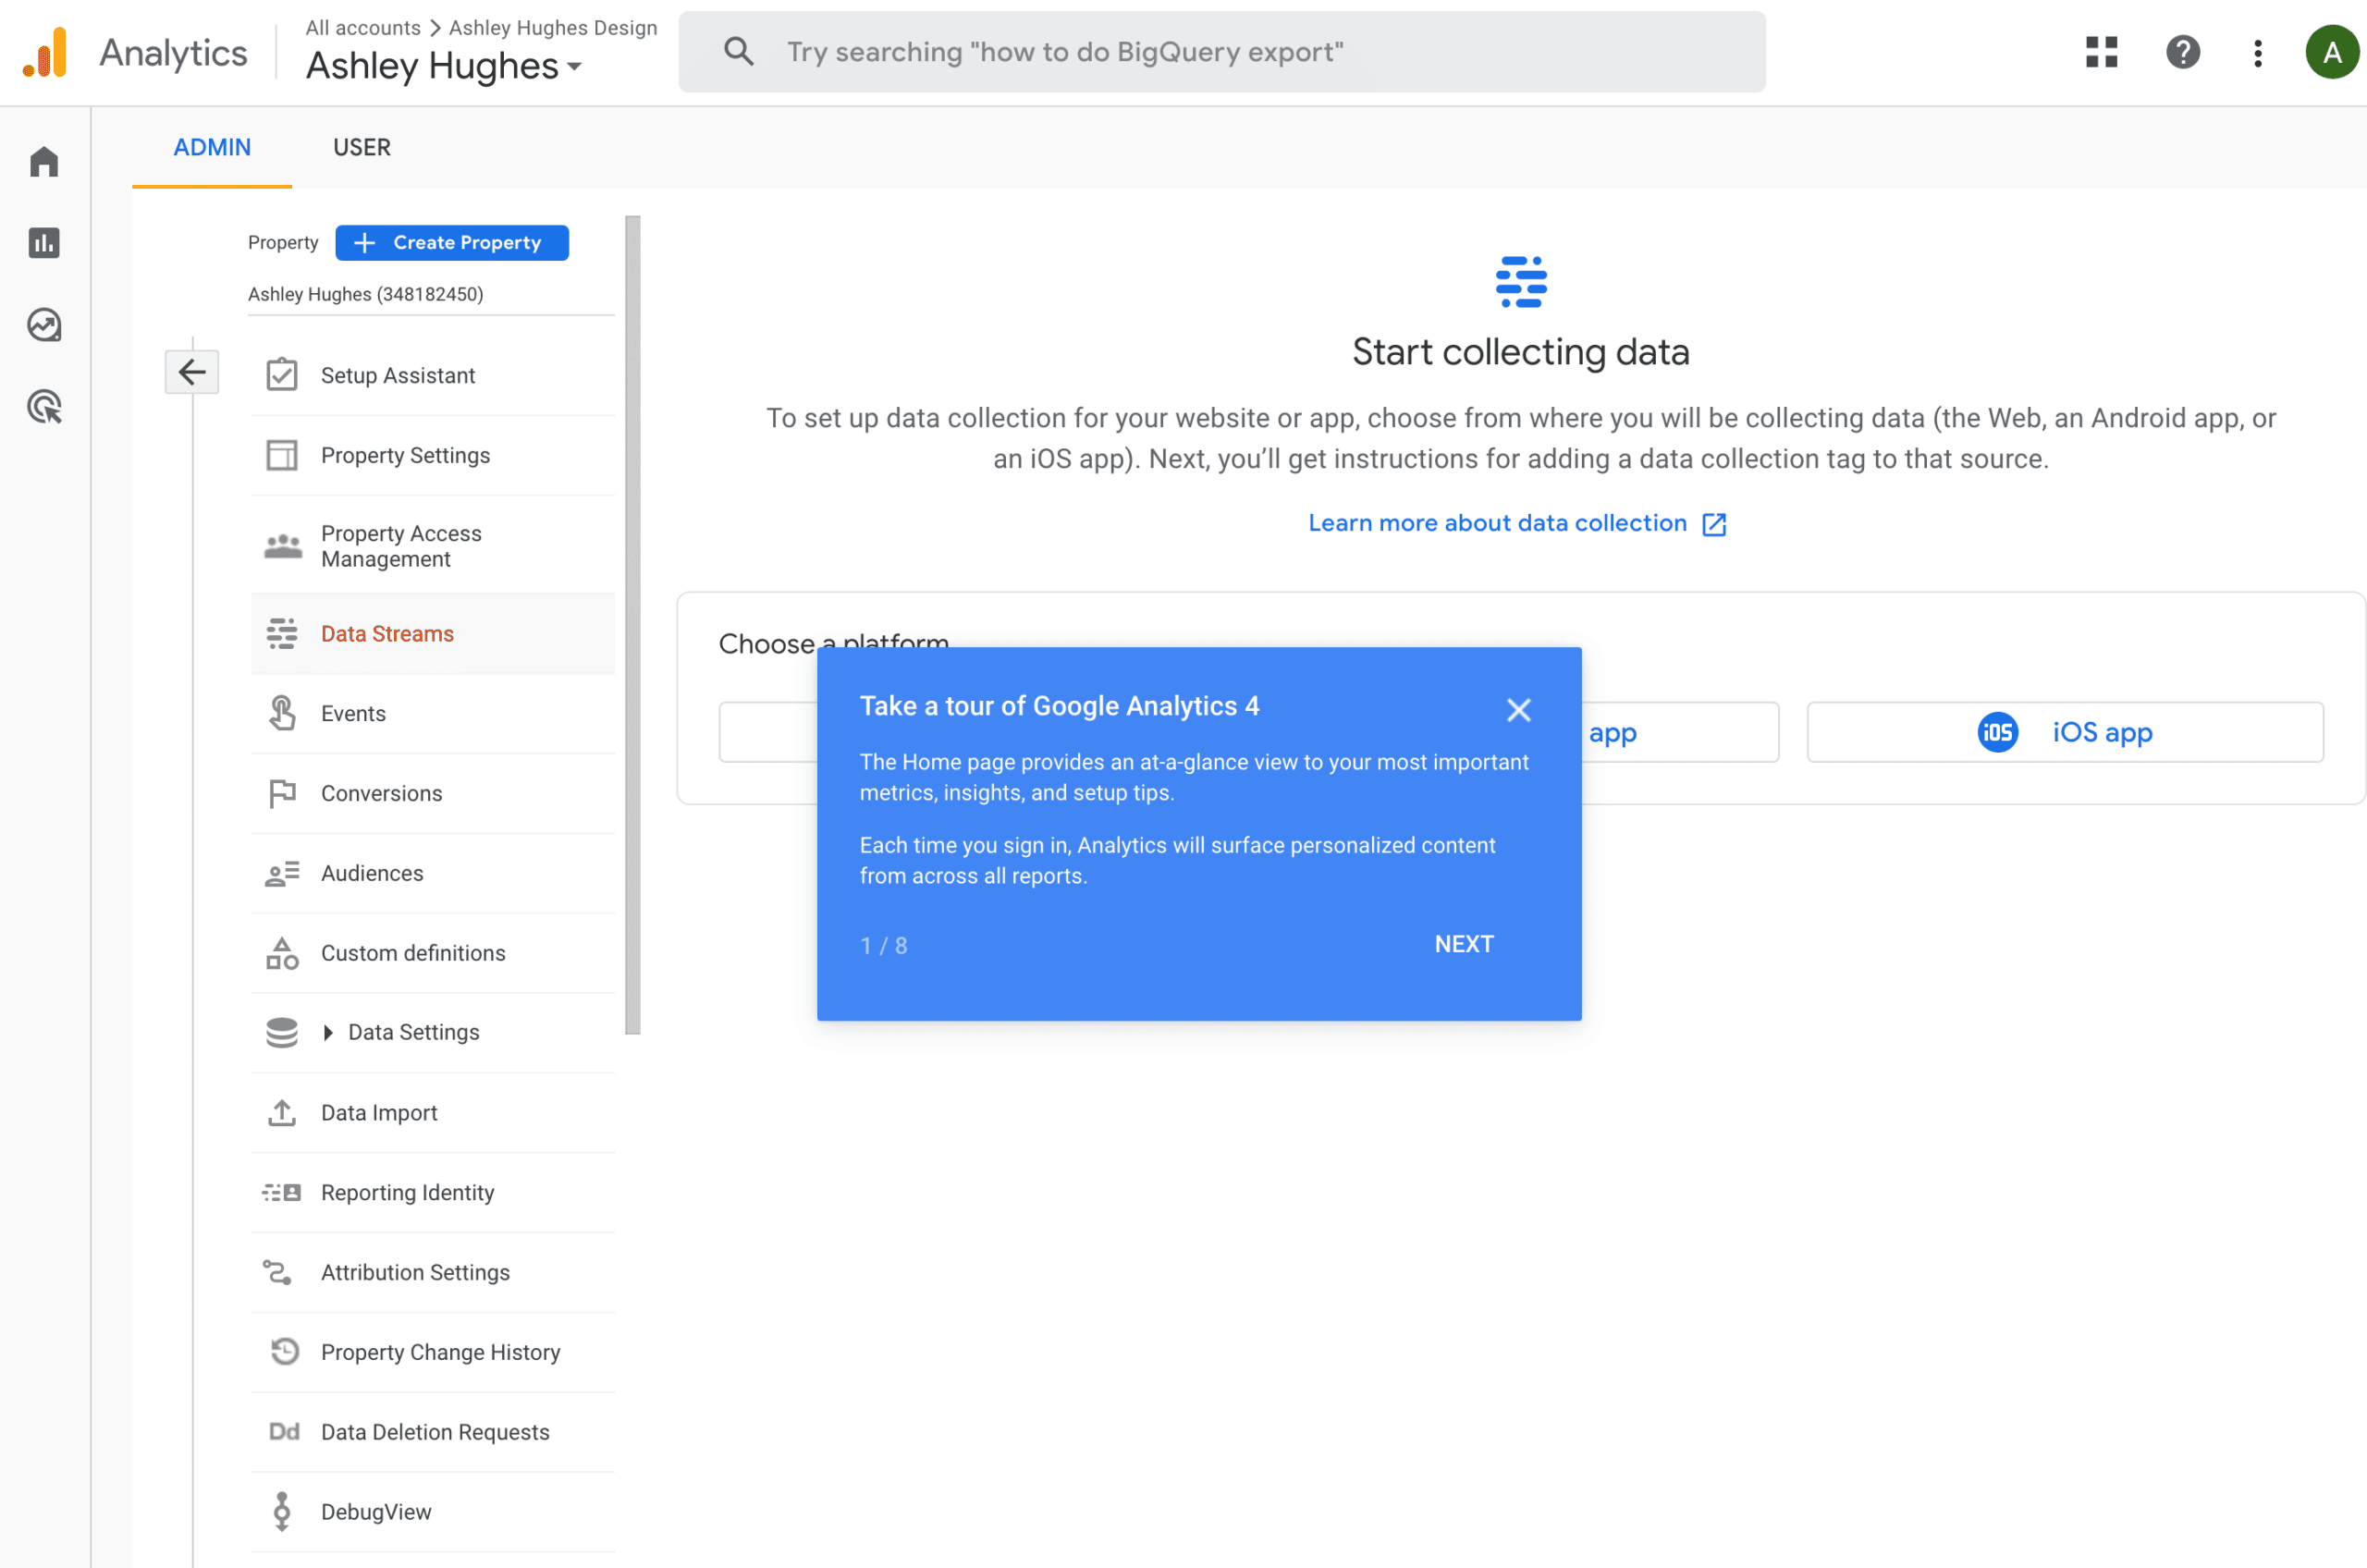
- You’ll now see your main Google Analytics dashboard. Take the tour (blue box) and learn your way around the platform if it’s all new to you.
2. Add a Property
- Select the gear icon in the lower lefthand column.
- Ensure you are on the correct property if you have more than one.
- Select “Data Streams.”
- Click “Web”
- Insert your URL and Site Name into the form fields.
- Click “Create Stream.”
3. Add Your Google Tag to Your Website
Once you’ve setup your Google Analytics 4 property, you’ll need to make sure your website is actually communicating with Google Analytics so it can pull data. This can be done in a variety of different ways, but here are the easiest.
Finding your Tag or Tag Script
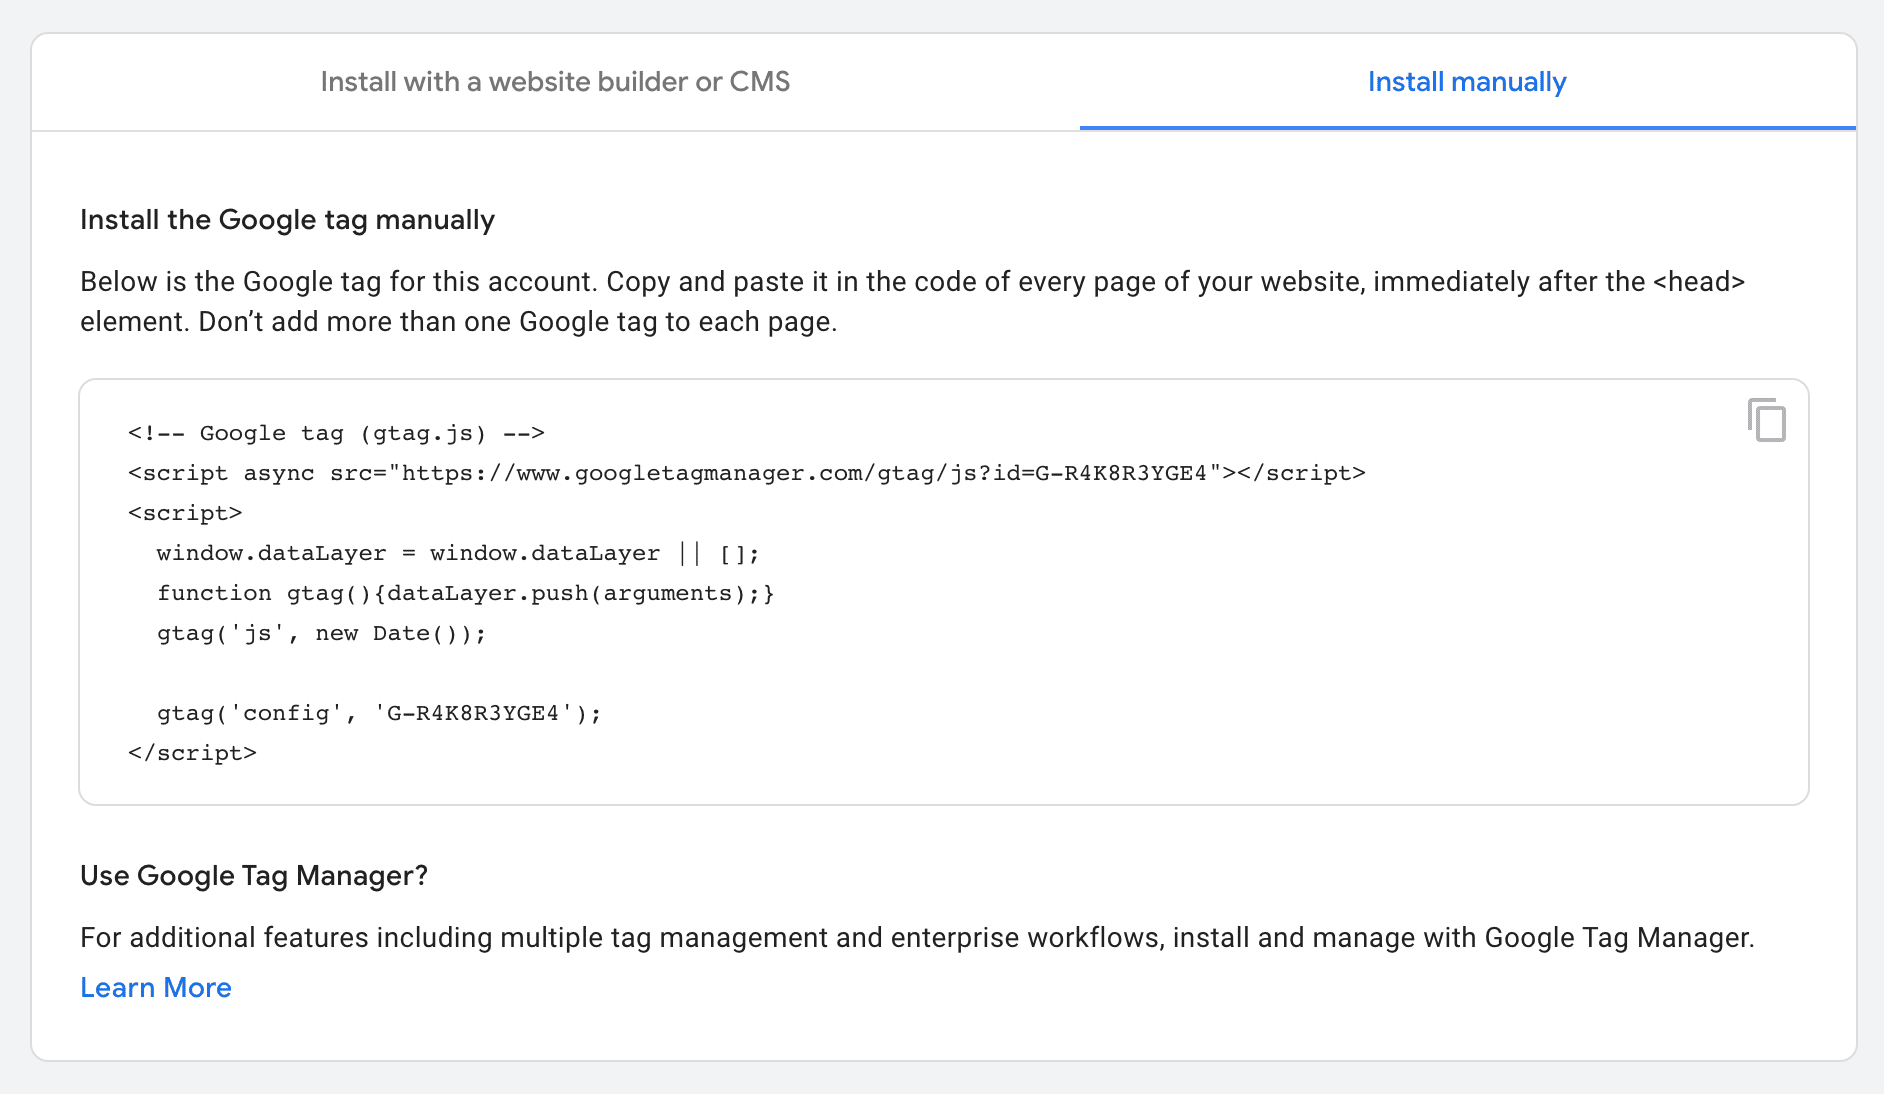
Click on your new data stream and scroll to the bottom of that popup and find “View Tag Instructions”, then select the “Install Manually” tab. That entire section of code is what you’ll need to install it manually. If you need to connect it via your Measurement ID then just go back to the “Stream Details” to find it. Typically you’ll either add it manually or just connect a plugin/service through your Google account. Options are covered below.
Option 1: Inserting the Google Tag Script Manually Using Elementor
- Side note: Install it this way only if you use Elementor…. don’t install Elementor just to perform this task.
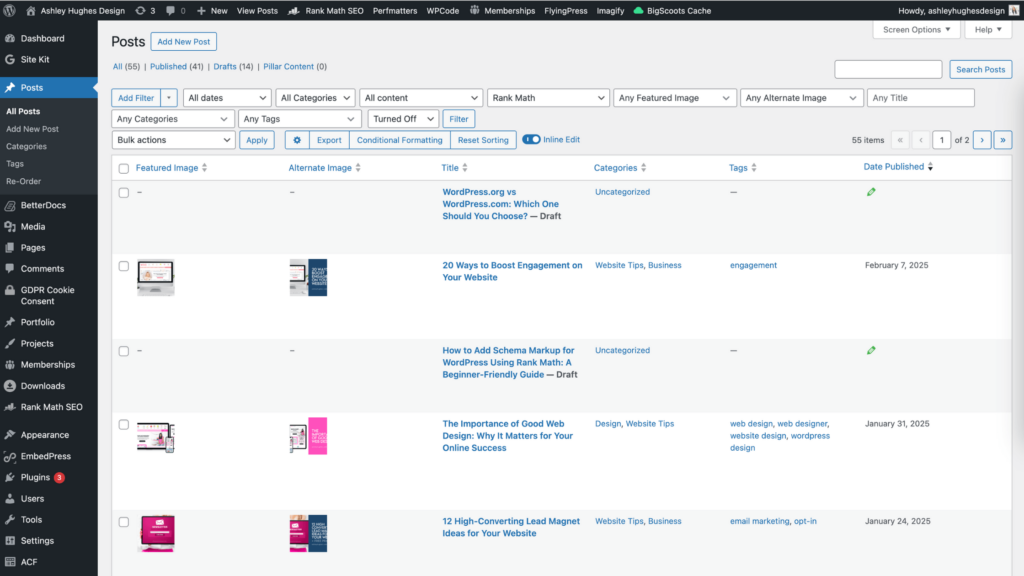
- Hover over Elementor on your WordPress dashboard sidebar
- Click on “Custom Code”
- Click “Add new”
- Name it “Google Tag”
- Select <head> as the location
- Copy the entire Google Tag script from your Google Analytics Account and paste it into the custom code area.
- Click Publish
Option 2: Inserting the Google Tag Script Manually Using a Code Plugin
- If you don’t already have a code or script manager plugin, then there are a few options. My favorites to use are
- Install your plugin of choice.
- Create new code snippet.
- Name it “Google Tag”
- Copy the entire Google Tag script from your Google Analytics Account and paste it into the custom code area.
- Click save, publish, or run everywhere (whatever option saves it).
Option 3: Connect Google Analytics Automatically Using Google Site Kit Plugin (Free) OR Monster Insights Plugin (Paid)
- These plugins add a bit more code/weight than totally necessary, but they’re easy and show you data on your dashboard.
- Install the Google Site Kit Plugin OR MonserInsights
- Sign in using your Google Account for Site Kit OR go through the setup wizard with Monster insights.
- Connect your Google Analytics 4 property
Check Your Data
Once your site is connected to Google Analytics, you’ll start seeing data almost immediately. You typically want to give it some time (at least a week or so) before you start seeing any sort of consistent data, patterns, etc. Over time, with more data pouring in, you’ll begin to really see patterns and trends among your users and content. If you’re interested in learning more about Google Analytics and learning how to really use it, check out the free Google Analytics Academy offered by Google.
Hopefully this post was helpful in teaching you how to setup Google Analytics 4 for your WordPress site. If you haven’t already created a Google Search Console account, head to this post and I’ll show you how to tackle that.

Ashley Hughes
I design beautiful branding and graphics, build custom WordPress websites, and handle all the technical stuff so that you can focus on what’s important to your creative business… and stop doing all the things.


Leave a Reply